Settling into our bedroom

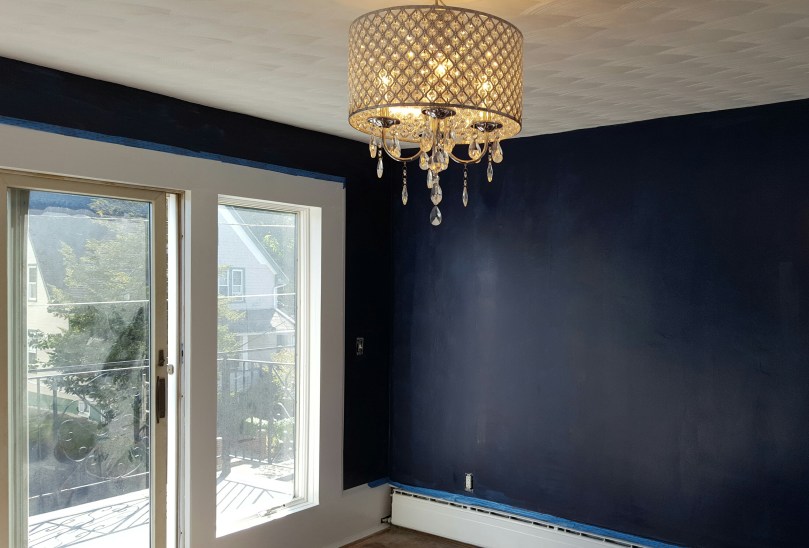
We’re finally making our final strides on the upstairs. Our bedroom is done (minus those pesky closet doors), so we’ve officially moved in. We were a bit eager, a lot of furniture and décor pieces were purchased well in advance. This did kind of turn our dining room into an obstacle course, but when the room was finally finished we already had everything on hand to move in.

Our bed is the most exciting part. We have been sleeping on a full size bed for almost five years, neither of us are small people, so it’s been pretty rough. A queen is only 6 inches longer and 6 inches wider, but it’s amazing how much of a difference that makes. I had a small checklist when searching for the right bed, must haves: tufting, fully upholstered, and storage drawers. This really did narrow down the selection, but eventually we found the perfect bed. Putting it together was quite a task, it came in five separate boxes and the instructions were trying to go the Ikea rout by using images instead of words…but definitely not as clear as Ikea instructions. It took the two of almost three hours to put it together.

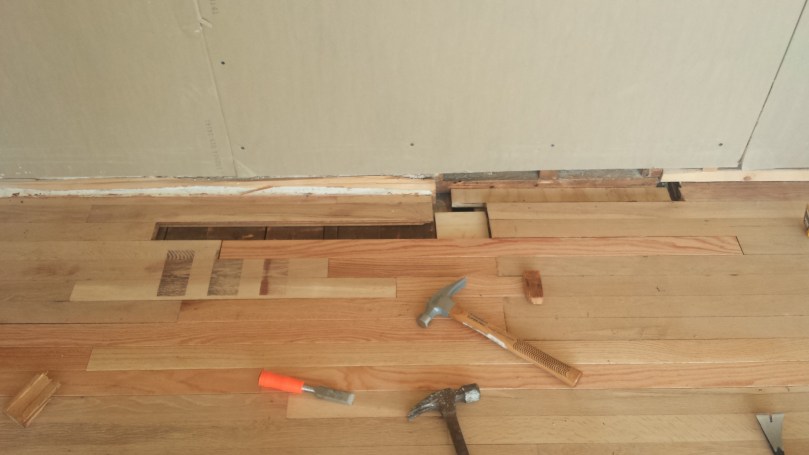
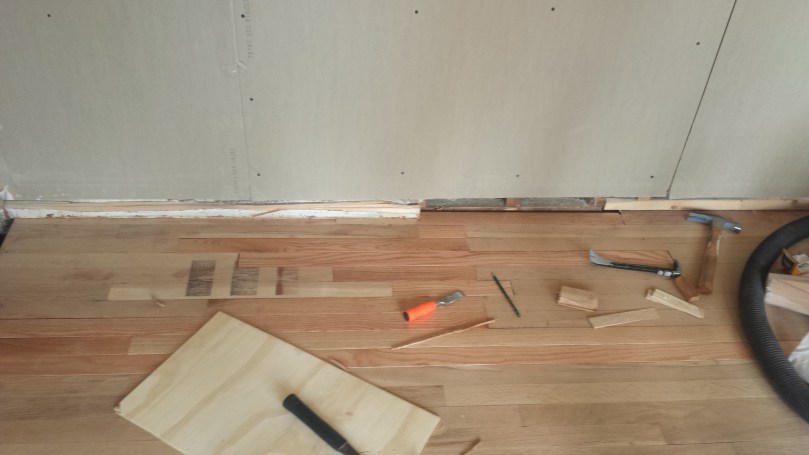
This is what our room looked like while putting the bed together….wp-1481374456067.jpg

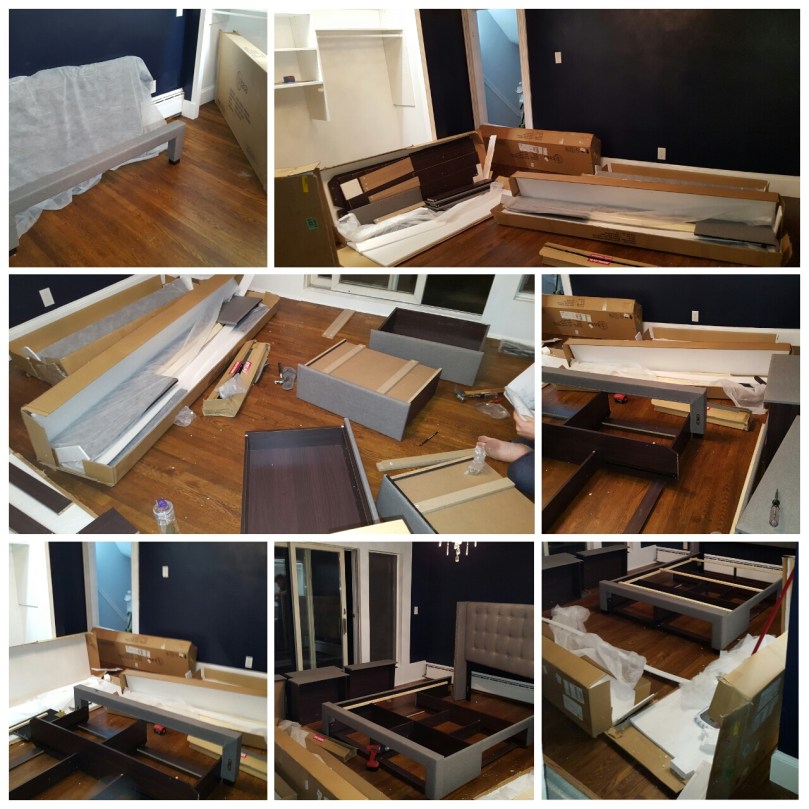
But all of that chaos turned into this!wp-1481374812142.jpg

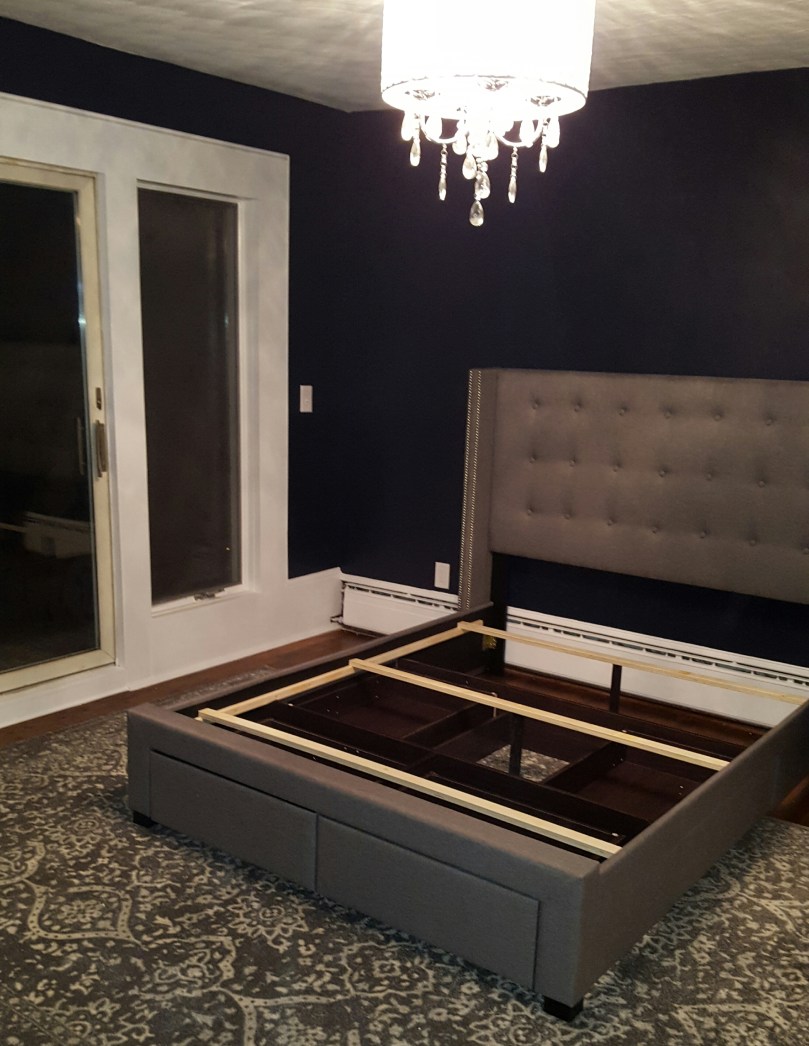
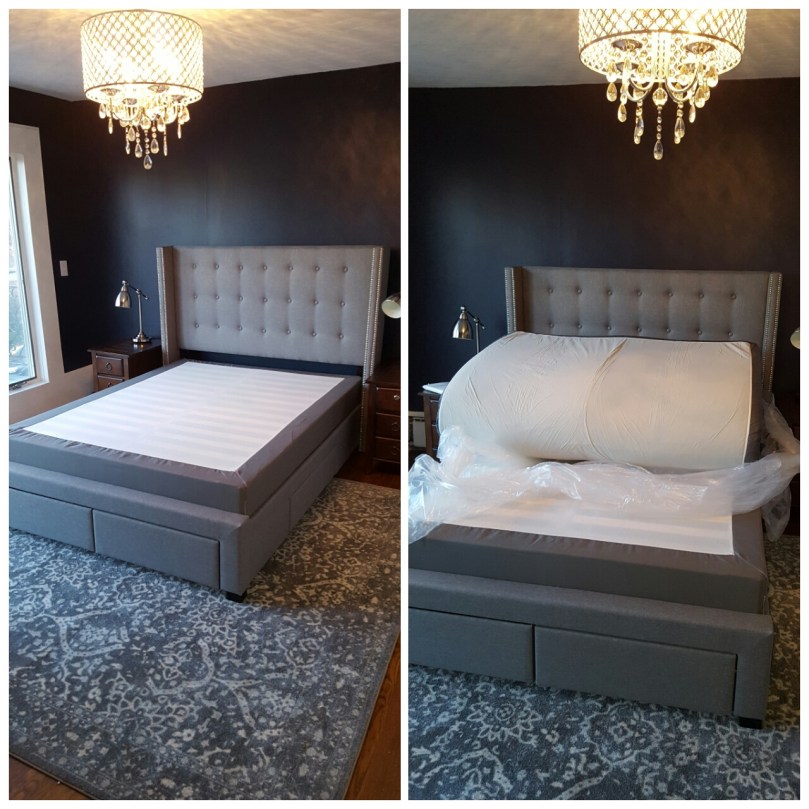
I was worried about buying a rug online because one never know what the color will actually look like. The rug turned out to be a couple shaded darker than the bed which worked perfectly. Add a box spring and a mattress and we’re good to go. The bed is super tall, I really love tall beds, I don’t know what it is, but I just feel like they’re more luxurious.

wp-1481375280064.jpg
It was kind of fun watching the mattress get bigger when it came out of the box.

Since we were going with a very simple color scheme I wanted to try and add texture with the textiles in the room. I loved the faded pattern in the rug, and choosing curtains with a pattern that would compliment without being too much. wp-1481375595502.jpg

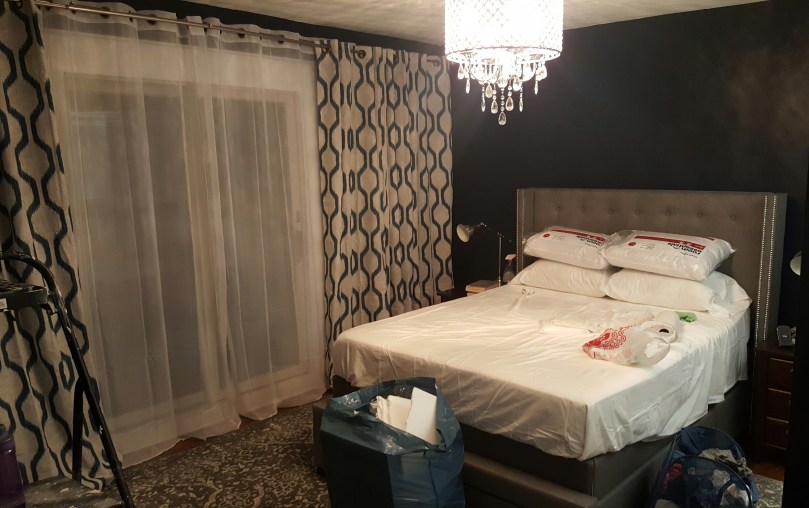
The wood finish of the night stands helps add some much needed warmth to the room and balance out all the cool blues and greys. I switched out the drawer pulls to a more modern chrome, keeping everything cohesive. The contrast also adds some interest, the original pulls just blend right into the woodwp-1481376516259.jpg

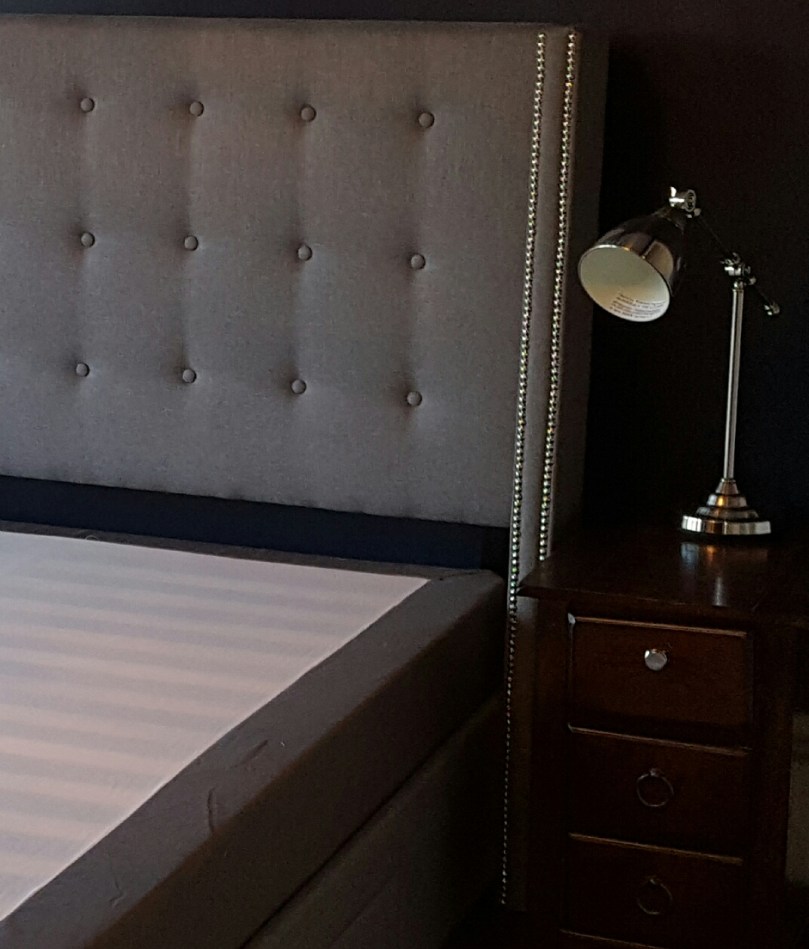
I found an awesome dresser on Craigslist that works perfectly with the night stands. So I love the dresser, it has 12 drawers which we really need, it’s solid wood and very much our style. But it weighs almost 300 lbs. It took two people to get it into the house (thanks Ash), that alone was a struggle. Once it was in the house, we realized there was a chance it would not get up our windy stairs. I knew it could technically fit, but it would require a lot of strength to maneuver. I did look into lifting it over our balcony..it is quite expensive. So we hired two movers from Task Rabbit, which we thought would be enough, but alas it was not. Thankfully John came to the rescue and helped out, Seth had a sprained finger at the time, so one good hand was not going to do it. With removing the banisters, and the landing window we were able to get it up the stairs! It will never come back down, if we ever move it will be gifted to the new owners. I plan to replace the hardware in the dresser as well, but I have yet to find the perfect drawer pulls, I know they’re out there somewhere.wp-1482801042810.jpg

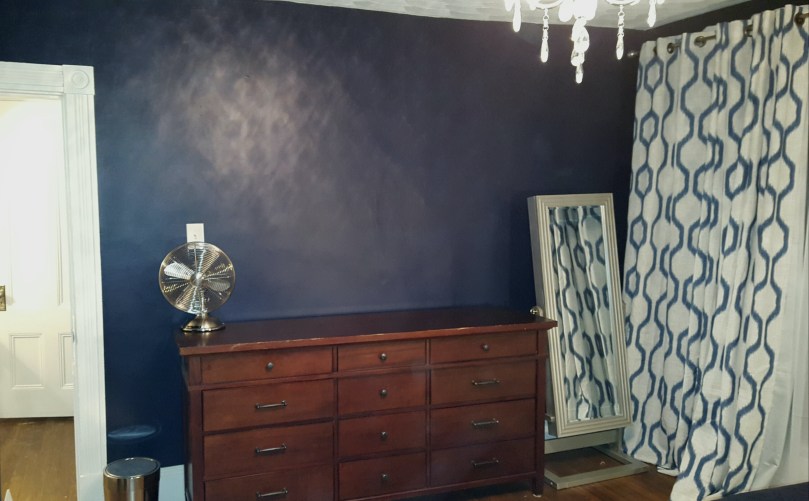
Now it’s onto adding the final touches, art, photos, shelves. Essentially making it look like actual people live in our home.


Learning to Share

Seth and I have done a lot since we’ve been together, planning our wedding (which was very much DIY), he finished grad school while working full time, and now we’re working on overhauling a house. But even after all that, the real test is whether we can handle sharing a closet ☺.  I haven’t shared a closet since I was 12 so honestly the thought was a bit daunting. Our new bedroom has a reach in, one day I hope to have a walk in, but until then I will have the largest and most organized reach in closet possible.  It’s ten feet wide and a little less than two feet deep, I think we’ll be covered for space. So it’s really about what we need inside the closet.

But first things first, of course the existing closet in our bedroom was hilariously awful. The closet that was original to the house was still intact, but rather than tear it down, someone built a second closet around it. So it was kind of his and hers closets, but very haphazard. The best decision was to rip that all out and start fresh, so that’s just what we did. Demolishing the closet did add some extra work, like patching the holes in the floor where the framing stood (from Floors Part 1). Also once the closet was down, you could see that our bedroom and my sewing room used to be two rooms with a pass through, a pass through that was closed off without even removing the door frame. So we had to open up the wall and drywall it properly, now you can’t even tell it was ever two rooms. Also can I just say how tempting it was to just leave it open and build a large master suite, but sadly going down to two bedrooms is just impractical for so many reasons.

closet-demo-2

Once the wall was properly closed my sister could do the framing for our new bigger and better closet. She did the framing, started the drywall and I finished, mudding is practically my new hobby. Trim was installed around the door frame, it looked very sad without it. We chose a trim that matched the style for all the other doors and windows to keep the upstairs consistent.

wp-1479679245513.jpg

Now for the important part, choosing a closet system. There are many choices to consider, so it came down to budget, ability to customize, and ease of installation. The first step of designing a great closet is evaluating one’s wardrobe. As anyone in my life knows, I pretty much live in dresses, I own three pairs of pants outside of pajamas and workout clothes. Seth is a jean and button down kind of guy for the most part. So we need lots and lots of hanging of multiple lengths. I looked at Ikea, California Closets, the Container Store, but the one we went with was Easy Track. I had actually never heard of it, but I loved how easy it was and the price was reasonable. You just enter the dimensions and then is gives you a proposed design you can adjust to your needs. After settling on a design it gives you a shopping list and poof closet! Well not exactly poof, but practically. I realize I may sound like an advertisement, but the name does not lie. It was super easy to install; it only took a couple hours.

wp-1479684238622.jpg

The last step…closet doors. So of this whole process the doors were the only step that worried me, we decided to do two tri-fold doors. After trying to find the hardware for a tri-fold door, I learned they are quite uncommon, so we were really just going to have to make do with buying the bi-fold hardware kit with some extras. We picked out super tall doors (90 inches), we then had to trim them down about an inch and a half to fit and paint them the proper color. Sometimes I wish everyone could just come to an agreement on one universal shade of white, it would make life a lot easier. This idea was kind of a stretch, and after a giving it a solid attempt, called it quits. If there is one this we have learned over the past year and a half it’s when to let go and move in a different direction. We did manage to get one half of the doors installed, but not only did it feel very flimsy, but they honestly just looked horrible. On to plan B, sliding doors.

I’m not the biggest fan of sliding doors, but with the large opening of our closet and sticking withing the budget, it turned out to be the best option. We found sliding doors online that would work, but we would have to alter the size of the closet opening to fit the track size. It was a bit sad to tear out something we just built, but it had to be done. The opening is still pretty big, it actually ended up looking better at the end.

wp-1479680938007.jpg

We managed to do it all in 4 days. Friday we demolished the front of the closet, always the easiest part. Saturday we rebuilt the framing, this was not fun. We were using steel framing, which is great but much more labor intensive. Sunday we installed the drywall and did the mud. Monday we installed trim and painted. Done! Well sort of, we ordered our doors and and are awaiting their arrival. Per the online instructions they should be really easy to install, but we’ll see.

We may not have doors, but we’ve been using the closet. I can’t express how exiting it is to have my clothes in one place rather than running up and down between two floors to try and find things. Yay organization!

20161120_173400.jpg


The Blues

Our bedroom has paint! I feel like everything in finally coming together. Thanks to the balcony our room gets lots of natural light, so I decided I should take advantage and go bold and pick a really dark color. I had my heart set on Navy, it took a little convincing to get Seth on board, but eventually I got him over to the dark side (cheesy pun intended).

Normally I would suggest one buy paint samples and test out a couple colors before committing, but I did not follow my own advise. Our local Ace Hardware was going out of business so they were having a fantastic sale on Benjamin Moore paint. It really seemed wrong not to take advantage, so we decided to pull the trigger. We chose a color called Deep Royal, it is super super dark, I love it!

Before the color went on the wall a lot of prep work had to happen, soooo much spackle. We replaced the base caps throughout the room and had to fill a lot of holes from old cable cords, and telephone lines…which is actually kid of weird to see in a house, a home phone is so rare these days. And as much as I appreciate the look of natural wood, it’s kind of limited to flooring for me, wood trim is just too much. wp-1477273541780.jpg

We primed the trim and the walls. Because we were doing such a dark color we went with a grey primer for a better base.Once the walls were primed it kind of felt like we were done, the grey looked really nice. But I think anything would have been better than what it looked like previously.wp-1477273538355.jpg

No matter how great the brand of paint, I have never gotten away with one coat. I had high hopes this time, but of course it took two. The walls just drank in the first coat. The left is the first coast, it almost looks greyish charcoal, the second coat is on the right side, it takes too coats to really see the color.wp-1477273538275.jpg

I’ll admit I was a little scared and almost backed out and chose a lighter shade, but I’m really glad we went for it. The end result is amazing. The color is super dramatic, it’s going to be a great back drop for our furniture, and most importantly it makes my beautiful light fixture pop even more.wp-1477276062013.jpg


Stairway Update

The stairway is not the most exciting part of the house, but it is important. When you walk in the front door it is smack dab in your face, so it definitely needs some attention.

wp-1471312461389.jpg
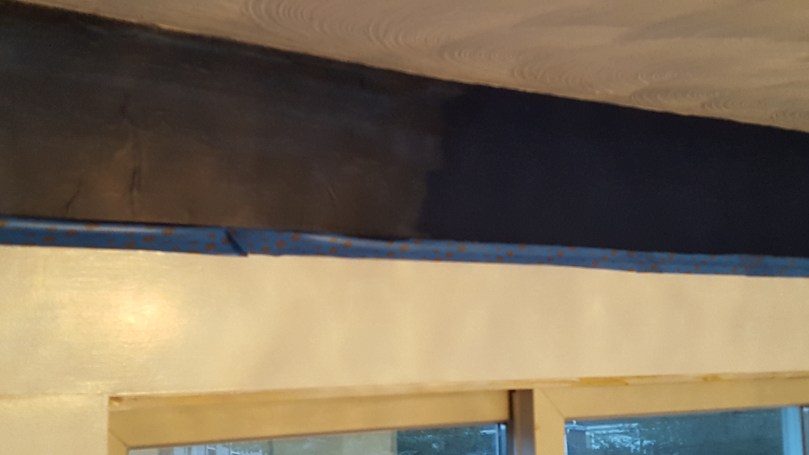
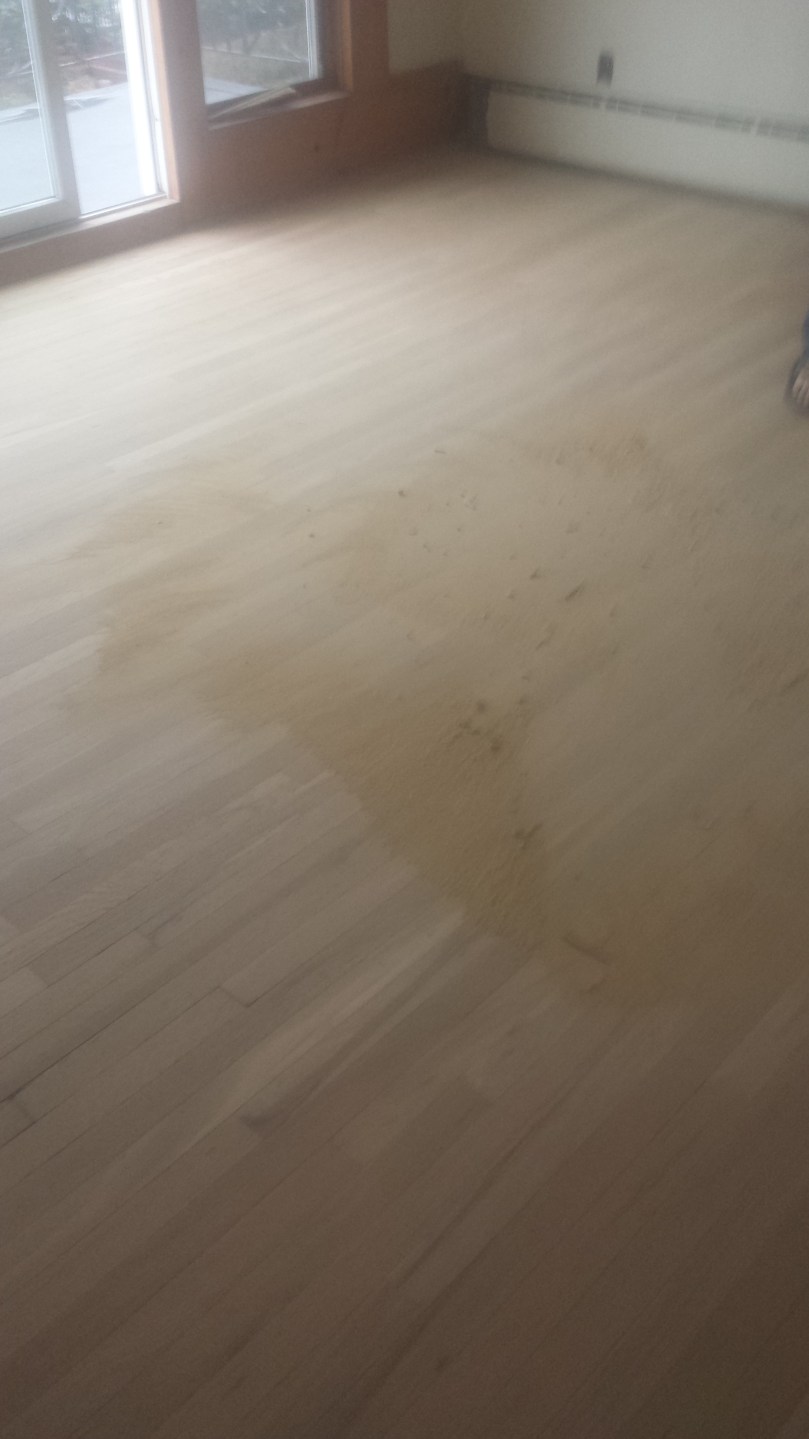
Unlike the rest of the house, the stair and landing walls have that horrible textured plaster that had a moment of popularity which I will never understand. Not only is it very unpleasing to the eye, but honestly it’s bit dangerous, both Seth and I have shed blood more than once just bumping into a wall. As I would like to not fear going up and down the stairs, we set about removing it.

The first choice would be to take down the walls and put in new dry wall, wp-1471312381543.jpg
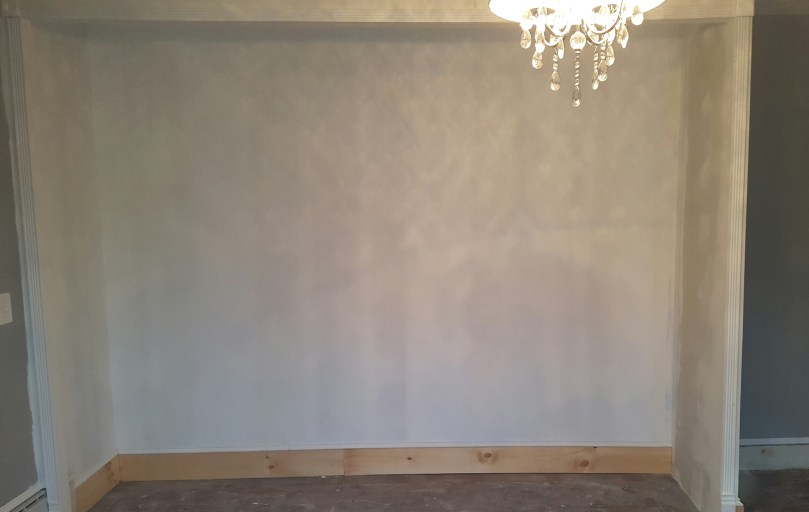
but that would be a lot of clean up as a number of our walls are slats with horse hair plaster. So the alternative thought was sanding down the wall enough to skim coat. This turned out to be quite slow and demoralizing. After putting in probably about eight hours of work Seth realized the top coat of plaster actually chips off. Surprise! This was way more efficient and we got the whole hall and stairway done over a weekend.

I had to do two coats of skim coating with sanding in between to get a semi wp-1471312494032.jpg
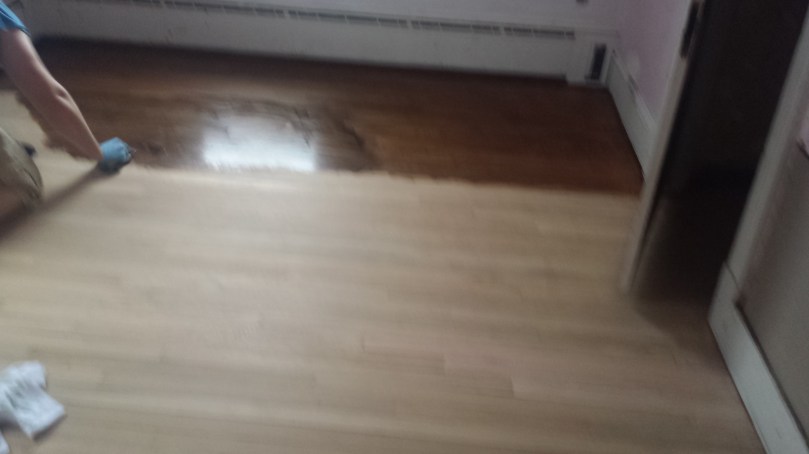
smooth finish. I toyed with the idea of doing three, which it definitely could have used, but I decided I was happy leaving a little “character”.

Now it’s just paint, paint and more paint. We’ve primed the walls and are now ready for color! I’m a bit obsessed with grey, it’s a great neutral. wp-1471312528768.jpg
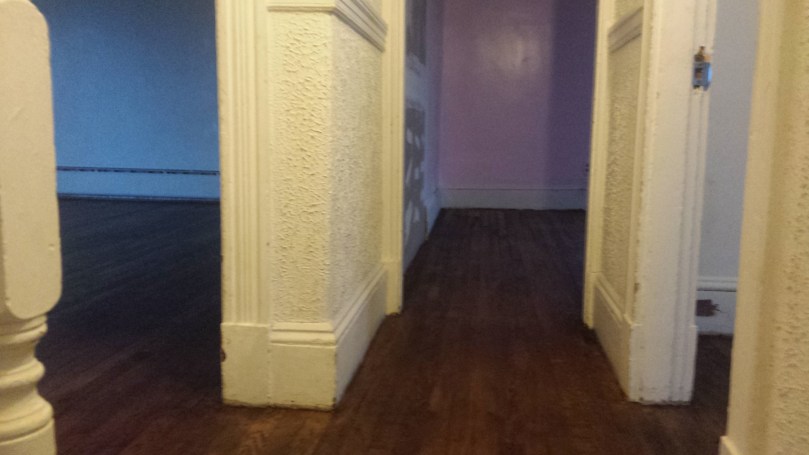
Because the stairs lead into the foyer, which leads into the kitchen, which is partially open to the dining room (you get the point), I wanted to make sure I chose a color that would also work in the foyer and work with whatever color we were to choose for the kitchen and downstairs living spaces in the future. Once it’s done it will be a welcomed focal point, not a spikey mess.

Windows and Walls

It’s now been a whole year since we moved into the house. The time went so fast. I still remember post blizzard moving day, so stressful, but super exciting. We had a lot of plans when we first got into the house and really unrealistic timelines :). We’re definitely not where I thought we’d be, but all in all I am happy with what we’ve accomplished thus far. I’m quite proud of how skilled we’ve become at so many things. I’d say we were both pretty handy before we started this grand project, but we’re on another level now. Also, we’ve finally moved upstairs!…more on that in a future post.

So what have we been working on since December? A lot of work on the walls in the upstairs bedrooms and hall. For starters, we closed up the wall between the sewing room and the master. It was kind of weird once the drywall went up. For the last year it’s felt like one large room. In the beginning we were almost tempted to just turn the house into a two bedroom with one really large master. But after further though we realized that would be terribly impractical. I have to admit this wall made me a bit nervous, if it wasn’t done well it would be very apparent there used to be a large opening. The taping job turned out pretty well. But what really helped blend everything together was the baseboard, after that was added it really made it look like the wall had never been opened in the first place. We fit wood into the base and then had to find matching base caps to blend in with the rest of the room. As usual, once we added paint it blended right in.

The upstairs window trim required some handy work as well. I don’t like to get rid of things that have been in the house for years and years so I tried to keep as much of the trim as possible. Two out of four of the window sills were cracked. Sills were something that I assumed one could run into Home Depot and purchase, but that is not the case. After checking a variety of hardware and supply stores, we determined that window sills must be made. So make them we did! Because the trim is so old, we could not find exact matches for pieces that needed to be replaced. We managed to keep the windows in the sewing room original and build new trim in the guest room.

The guest room has been painted a medium shade of grey. The neutral color will give me freedom when picking out all of the fun things like curtains and accessories. Amazingly we’ve managed to have overnight guests in our currently chaotic home, but we’re looking forward to the first time we have the guest room in use for the first time.

Floors – Part 2

The upstairs floors are 100% done, and they look Awesome! Now that it’s all said and done the floors were not really a hard project, but a very very tedious project. Sanding all the edges by hand required a lot of patience, but it felt good to finally check that off the list. Next step, cleaning, lots and lots of cleaning. As one would assume, it creates quite a mess. After our first round of sanding we came downstairs to find the entire living room covered in a thin layer or dust.20151218_123213.jpg

Once the floors were as clean as we could possibly get them it was time to stain. When we finally arrived at this step both Seth and myself were extremely nervous. It was a lot of build up getting to this point, and this is the part that would really show if we did a horrible job, or what if the color we chose was actually terrible in a large space? Thankfully neither of those things turned out to be true. In fact it was the easiest part of this whole project, very much like The Karate Kid, “wax on, wax off”. We got a nice rhythm going, Seth would wipe the stain into the floor and I would follow a minute after and wipe it off.20151218_140304.jpg

I think it only took us a little more than 2 hours to apply stain to the entire second floor, not bad. Then we took a break. It was a nice excuse to do nothing since we had to wait for the stain to dry and couldn’t be upstairs. Lastly, it was time for the polyurethane. So this is the quickest step in the floor process, but I would say the easiest to make mistakes. The polyurethane simply gets wiped on with an applicator that looks a lot like a mop. The tricky part is making sure you don’t miss spots and that it doesn’t pool anywhere. Seth took responsibility for the majority of this step, which I was totally okay with. He did a great job 🙂20151225_102415.jpg

Two coats of polyurethane later the floors were done! Again we were able to a take long break since we couldn’t walk on them for seven days. It is very liberating to actually not be able to work on any projects, I was happy for the week off. So now after the bathroom, that was the second hardest project  upstairs. It should only get easier from here…fingers crossed.20151218_155811.jpg

Floors – Part 1

It’s time for floors! When we bought the house the floors were a major selling point. We both love hardwood, and honestly I love hardwood that has a few dings and dents, adds character and such. The refinishing process is well worth the work. Months ago we started sanding, but we’ve kind of been off and on. This is really the opposite of how one should finish their floors. But here we are.

Over Thanksgiving we finally tackled the most intimidating step, patching the damaged area of the floors with new boards. I think maybe we subconsciously wanted to wait until we upped our handy skills, and we really have. The hole in our master bedroom left from removing the old closet is gone! Thanks to a short This Old House video it wasn’t the hardest thing we’ve done.20151126_105049.jpg

I think we accomplished our goal of making it look like there was never a whole in first place. The trickiest part is getting the boards out to feather in the new ones, without breaking any around them…we only broke a few surprisingly. The key is the split the old board so it can come out in pieces. I’ve learned I need to not be afraid to hit things with a hammer ten times as hard as I think I need to.20151126_123347.jpg

Also we did find new oak, but without making a special order, all the boards we found in store have finish, yay more sanding :). It was a fun scavenger hunt to try and sift through and find the perfect board for the least amount of cutting waste. Overall I think it turned out brilliantly.20151126_130331.jpg

So now we have to just finish the last bits of sanding before we can start staining, this weekend’s goal. We did pick out the stain and get all the supplies for the polyurethane. We went with the middle color, not too light, not too dark. I’ve finally convinced Seth that painting our bedroom walls navy is a good idea, so I didn’t want the floors to be too dark.20151003_135424.jpg

Next post, finished floors (fingers crossed). And the update on the many other projects we tackled during our Thanksgiving break.

A Much Needed Update

It’s been quite some time since the last post…three months in fact! Too long, between a few trips, and just life, it’s been a busy start to summer.  So what have we done in the last couple of months?

The bathroom tub and surround is 100% done! The fixtures have been installed; the tile has been grouted and sealed. And it looks awesome! But seriously, grouting tile on HGTV, super easy, grouting in real life not so much. bathtubOf course I chalk this up to skill and the learning curve, but grout dries soooo fast, and when they just cleanly wipe it off the tile, I don’t know what magic happening. After we grouted the walls and floor, about 3 hours were dedicated on hands and knees with a scrub brush, it was a Cinderella moment. Also baking soda and vinegar works for everything.

Electrical has also been finished, and I picked out the best light fixture, it took a little convincing for SethBathroom Light to agree. I think every bathroom needs a little glam, and this one definitely meets the requirements.

Drywall has gone up, and I did all of the mudding myself. This is one of the things that my construction experiences sister and brother in-law suggested we hire someone, and I completely understand why. It was definitely a challenge, but after doing the wall patches and built in, my skills have increased.

??????????????

And finally paint has gone on the walls. And thanks to family help (Thanks Debbie and Tom!), the bathroom is primed and ready for color!

Lots of multitasking has been going on.  The upstairs floors have been sanded curtesy of Luke, and thanks to Gerry the edges have also been sanded down in our master bedroom. Guestroom walls have been mudded and partially primed.

??????????????

We’ve had a couple work parties, John and Aina helped and put in drywall in the repaint our antique store medicine cabinet find. We had a pop in visit from Portland when Musa came to visit and he put in some insulation. Even my nephew Adam came and worked on the bathroom built in. It’s a family affair!


More posts to come, and sooner than three months from now 🙂

Tile for Days

Tiling really did take days, but it turned out awesome!  We wanted to pick something classic that would look great for years as we have no desire to remodel the bathroom any time soon after this. So subway tile it is! Tile
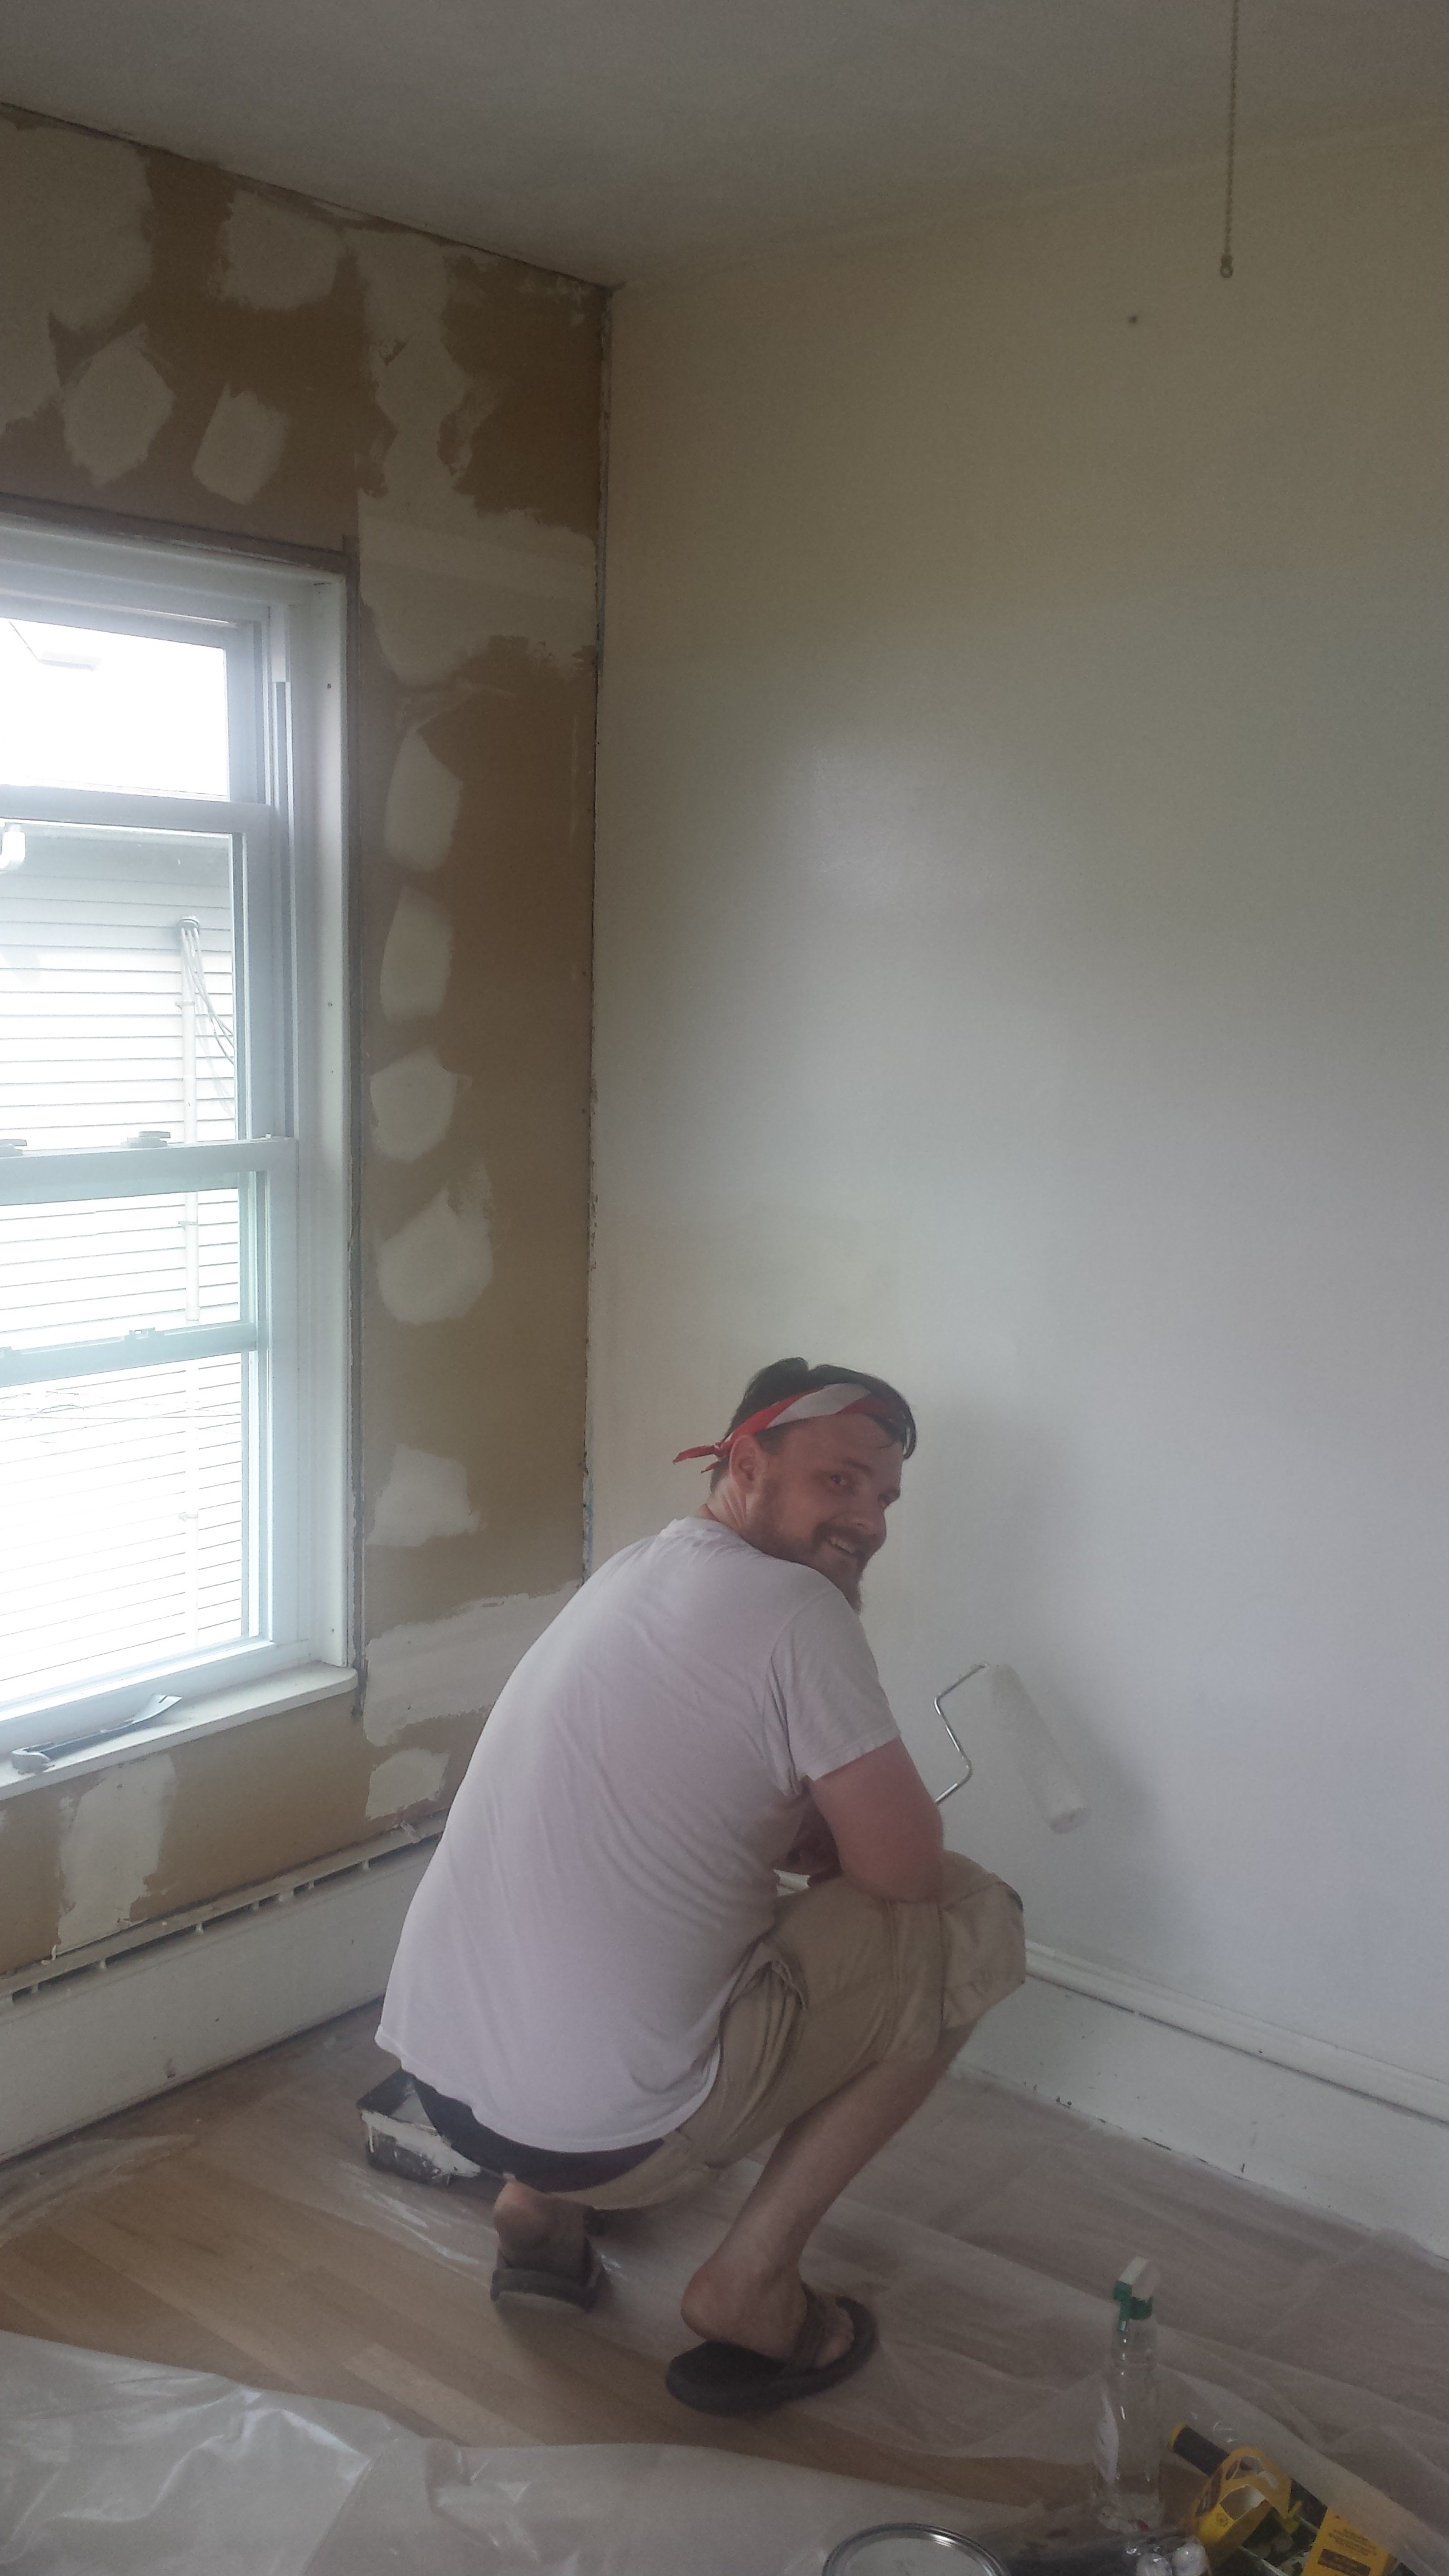
To make the task a lot easier, Seth had the wonderful idea of using mosaic subway tile, still gives us the look we were going for while cutting no less than half the hours of work needed. To contrast we went with a really large dark grey tile for the floor, I really like how it looks together.

Once the tile started going in it actually started to look like we were making progress.  Before tiling a lot of work had gone into the bathroom, but nothing we actually get to see! Sub floor, plumbing, wires, cement board, all necessary but all gets covered up.

Putting in the subway tile took a couple days.  As renovations go, every time we’d get a good rhythm going something would happen. Like causing a water leak in the shower, or realizing our tile cutter is not in fact big enough to cut our over sized tile. But little by little it started to come together.Picture2

The important part about finishing the tile was the plumber could finally hook up the plumbing to the tub! One step closer.

Picture1